

Render Your Own Beef Tallow
A step-by-step guide to making the cleanest base for homemade skincare.

How to Render Beef Tallow for Skincare
The skincare product you’re already using probably contains tallow. It’s listed as stearic acid, oleic acid, sodium tallowate, or tallow glycerides — and it shows up in major brands worldwide. The difference between those products and yours is simple: if you’re buying directly from a rancher, you know exactly what’s in it, where it came from, and how the animal was raised.
This guide walks through the extra steps needed for skincare. A clean, shelf-stable base for moisturizers, balms, and sunscreen. If you’re rendering for cooking, you can skip the second render (step 3) entirely.
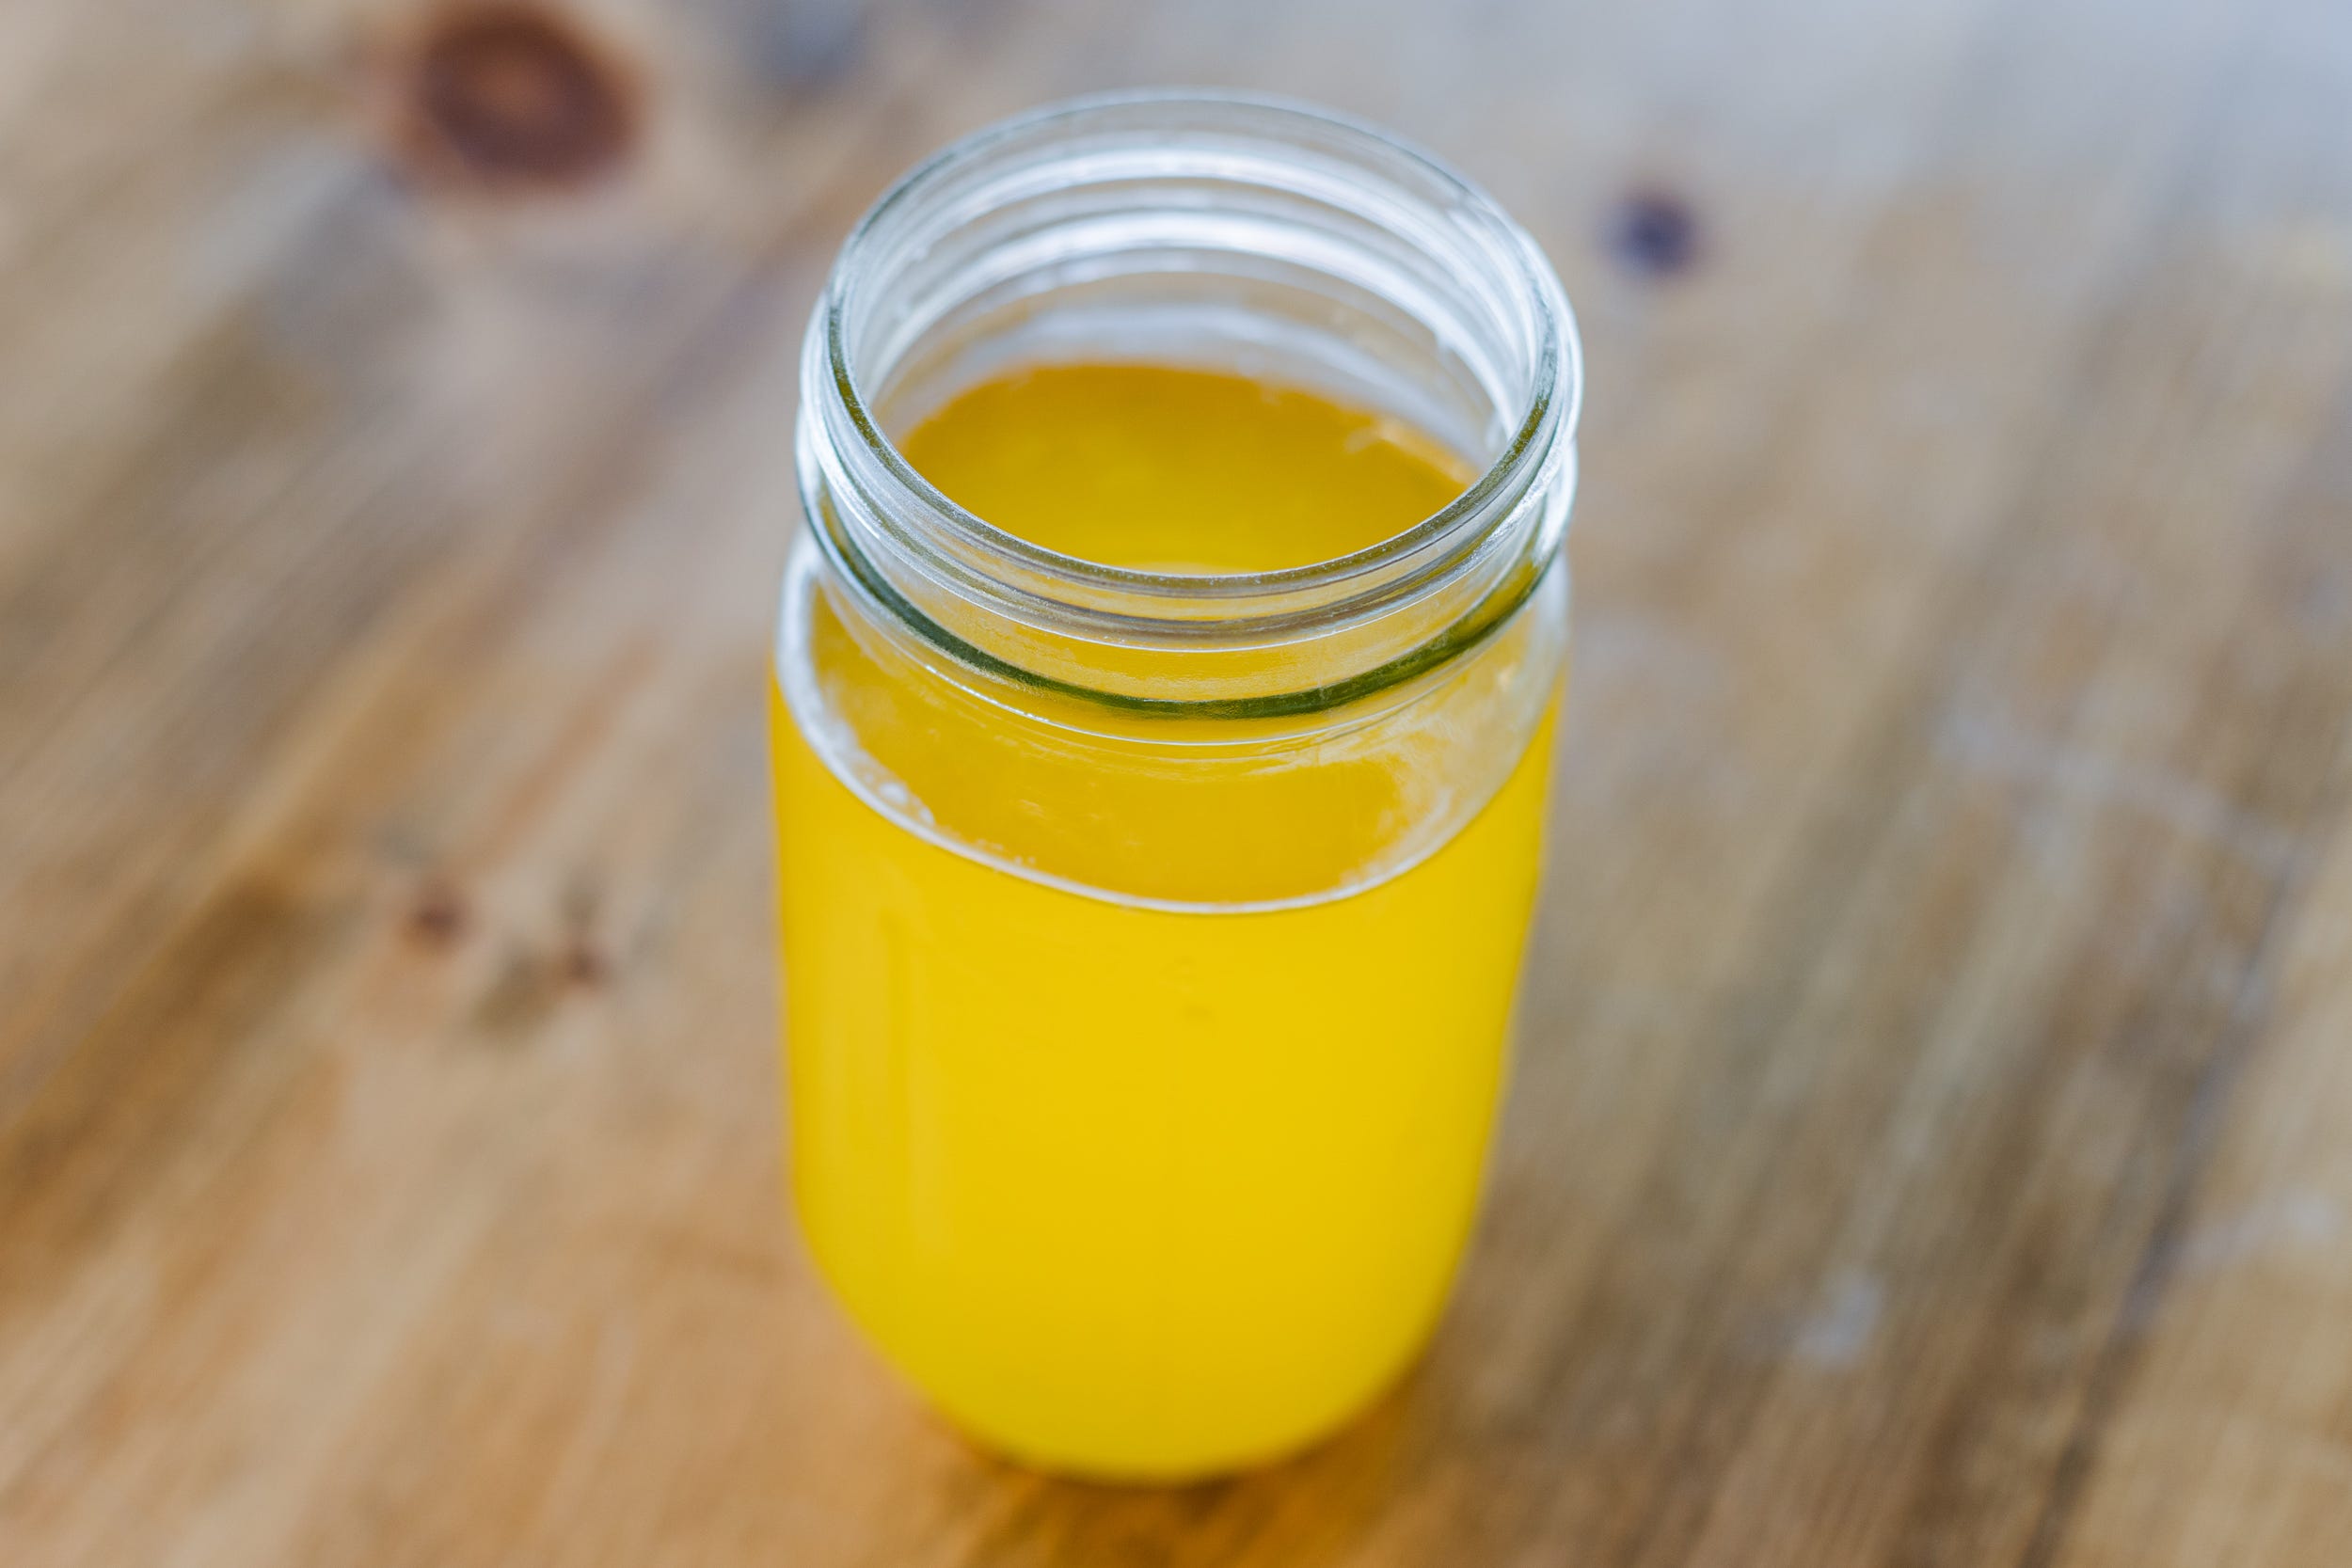
What You Need
Raw beef kidney fat (suet), or fat trimmings — kidney fat preferred
Heavy-bottomed pot or oven safe deep pan
Sharp knife and large cutting board
Several layers of cheesecloth
Large unbleached coffee filter
Clean, dry glass jars or bowls for storage
Know Your Fat
Not all beef fat renders the same. Kidney fat — the dense fat surrounding the internal organs — is cleaner, more neutral in aroma, and more consistent than outside trimmings. On a well-finished animal, it runs 14 to 35 pounds (depending on the animal size). If you’re in contact with the rancher or processor before packaging, ask them to label it separately. Some processors will grind it for you, which speeds things up, but inspect what comes back — a grinder running meat all day can introduce bits that affect your finished product.
When your fat arrives, treat it as the perishable product it is. Render it promptly or freeze it. Fat handled carelessly at this stage carries those problems into every step that follows.
Step 1: Cut It Small
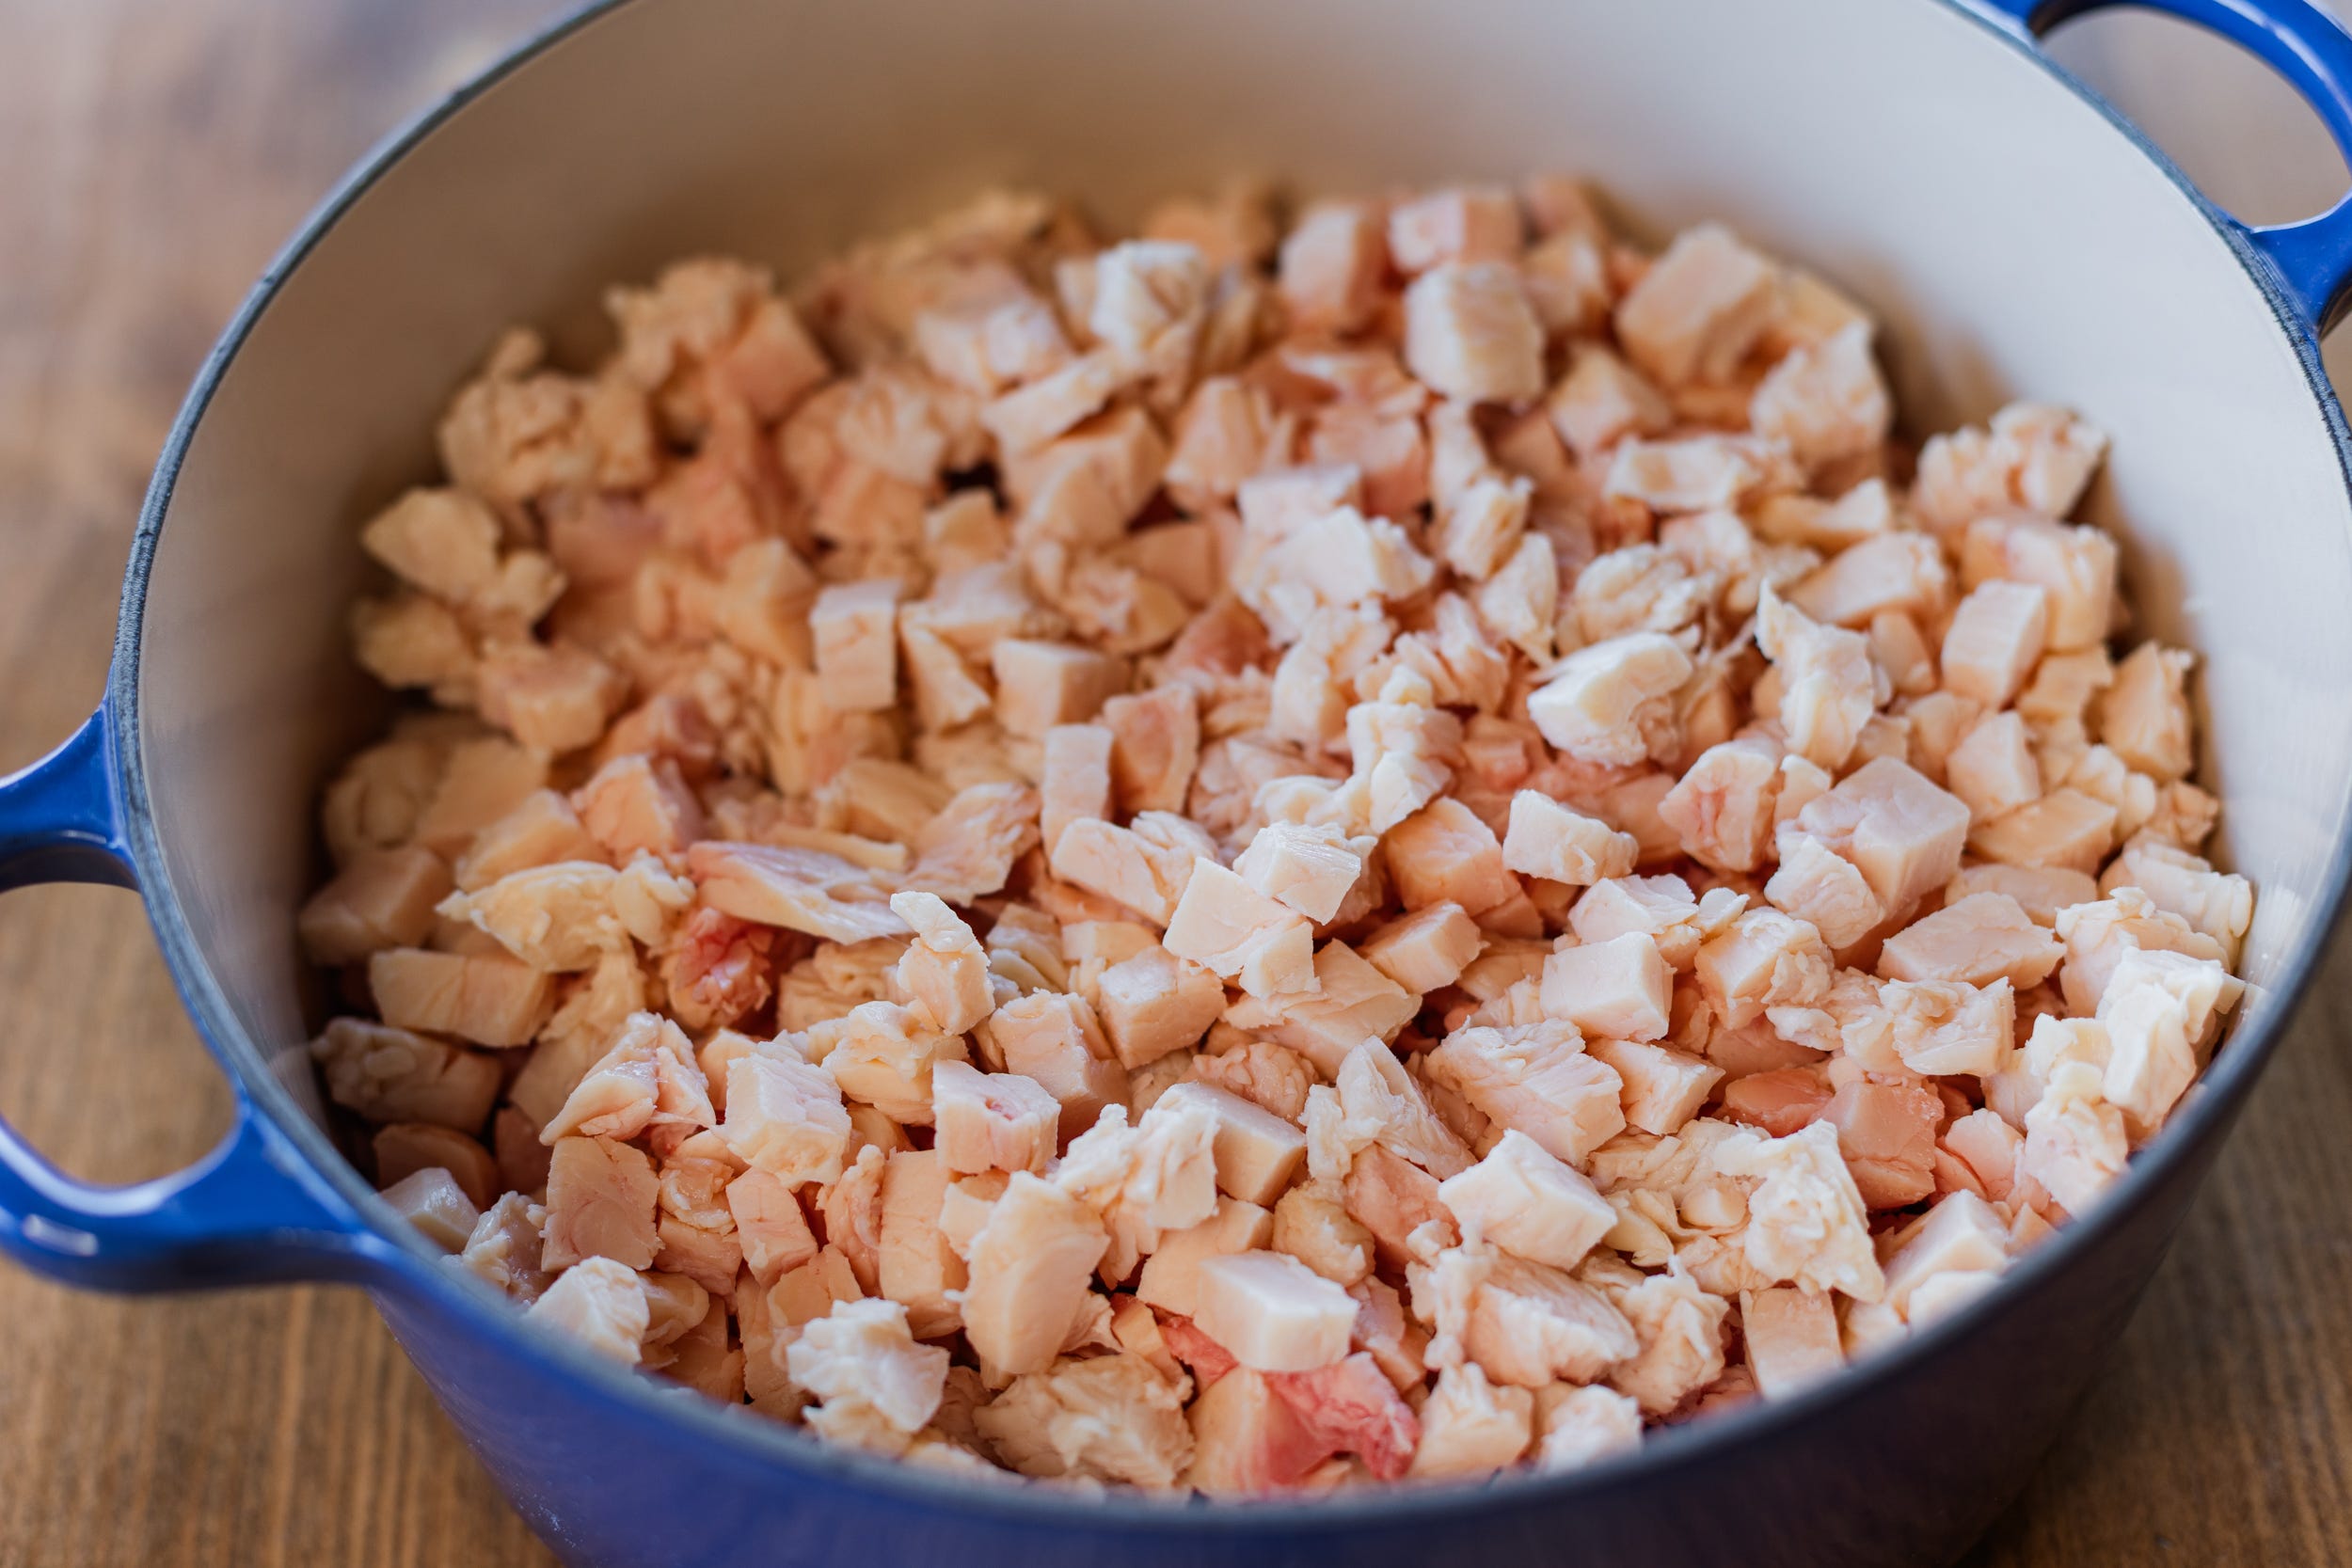
Break your fat down to pieces smaller than a quarter inch — as close to ground consistency as you can get. Smaller pieces mean more surface area, more even rendering, and better yield. Large chunks render from the outside in and may never fully release at the center. If you have a meat grinder, or can borrow one, it’s worth the effort.
For hand cutting, work in small sections on a stable board with a sharp knife. As you go, remove anything that isn’t clean white (or yellow) fat: meat, blood spots, connective tissue. Only pure fat goes into the pot.
Step 2: First Render
Pour enough water into the bottom of your pot to cover the surface by a quarter inch. Add your prepared fat. Set heat to medium-low. You can also do this in the oven.
You are not frying. The water acts as a buffer, preventing the fat from browning before it begins to liquefy. It will evaporate as it simmers — doing its job and then disappearing.
Stir occasionally as the fat melts. You’ll see small solid pieces floating in the liquid — connective tissue and cellular material, called cracklings. That’s normal. Watch the liquid itself: it should turn increasingly clear and golden as moisture evaporates.
The steam is your indicator. Rising steam means moisture is leaving the fat. Moisture supports bacterial growth; removing it is what makes tallow shelf stable. When the steam slows and stops, and the fat is fully clear with no cloudiness, you’re done. Depending on volume, this takes one to several hours. Don’t rush it — turning up the heat to speed things along will brown the fat and compromise the aroma.
Strain while the fat is still fully liquid and hot. Line a sturdy strainer with several layers of cheesecloth and pour into a clean receiving vessel. Work carefully — rendered fat is extremely hot. Set the strained fat aside, uncovered, to cool. A lid traps condensation that drips back in and reintroduces the moisture you just removed.
Step 3: Second Render and Final Strain
The second render is your failsafe. If the fat has cooled and solidified, check the bottom of the container for any brown residue and leave it behind — add only clean white fat to the pot.
Return the fat to a clean pot over medium-low heat. No water this time. Let it return to a fully liquid state, then bring it to a very quiet simmer with the lid off. Watch for steam. When the fat is still, crystal clear, and producing no visible steam, it’s done. If your first render was thorough, this takes 20 to 30 minutes.
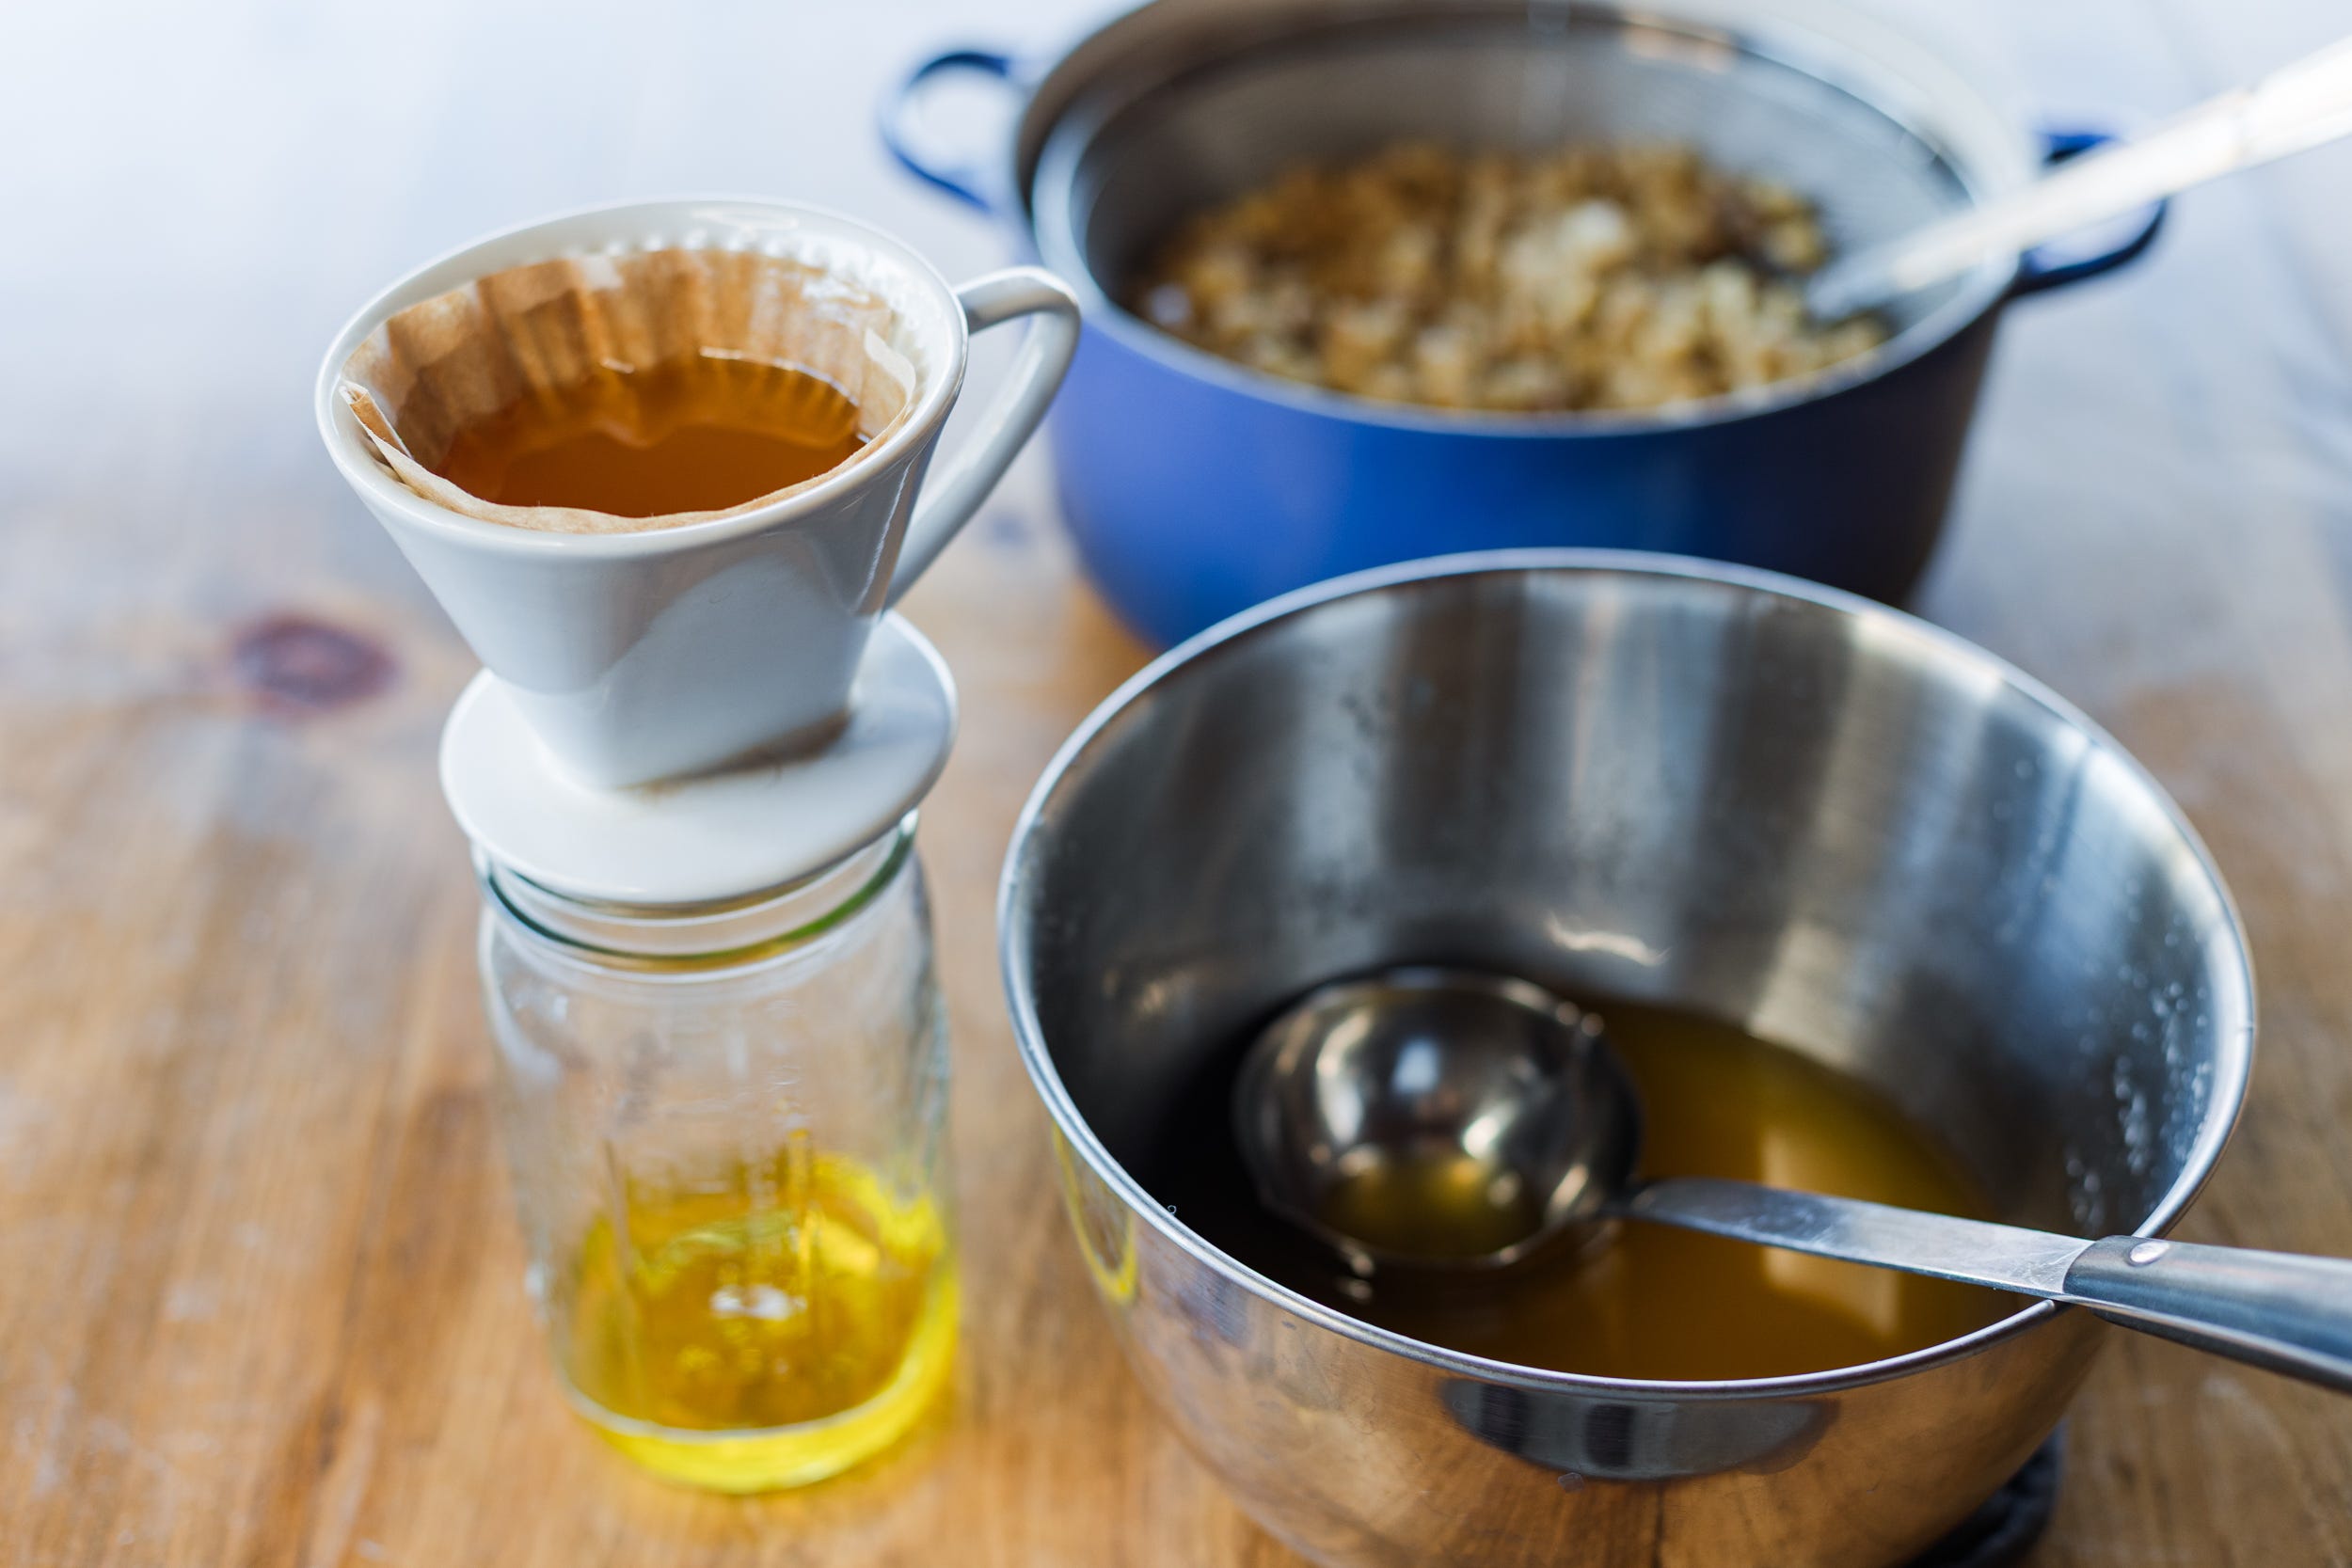
For the final strain, set a large unbleached coffee filter over a vessel that will hold it firmly. Pour your hot fat through slowly. Do not squeeze or force it. What comes through should be crystal clear and free of particles.
Pour into clean, dry containers. Leave them uncovered until the fat has cooled completely to room temperature — sealed warmth creates condensation. Once fully cooled and solid, inspect the bottom of each jar. Pure white fat top to bottom is what you’re looking for. Any brown at the very bottom is residual impurity that settled during cooling; leave it out of the finished product.
Storage
Keep sealed jars in a cool, dark place. Refrigerate anything you won’t use within a few weeks. Light and heat are the enemies of shelf stability — avoid clear glass on a sunny shelf. Properly rendered tallow keeps for months (or years) at room temperature and longer under refrigeration.
What you have now is a clean, shelf-stable base — the starting point for a finished skincare product. Formulation and texture will be covered in Part 2.